


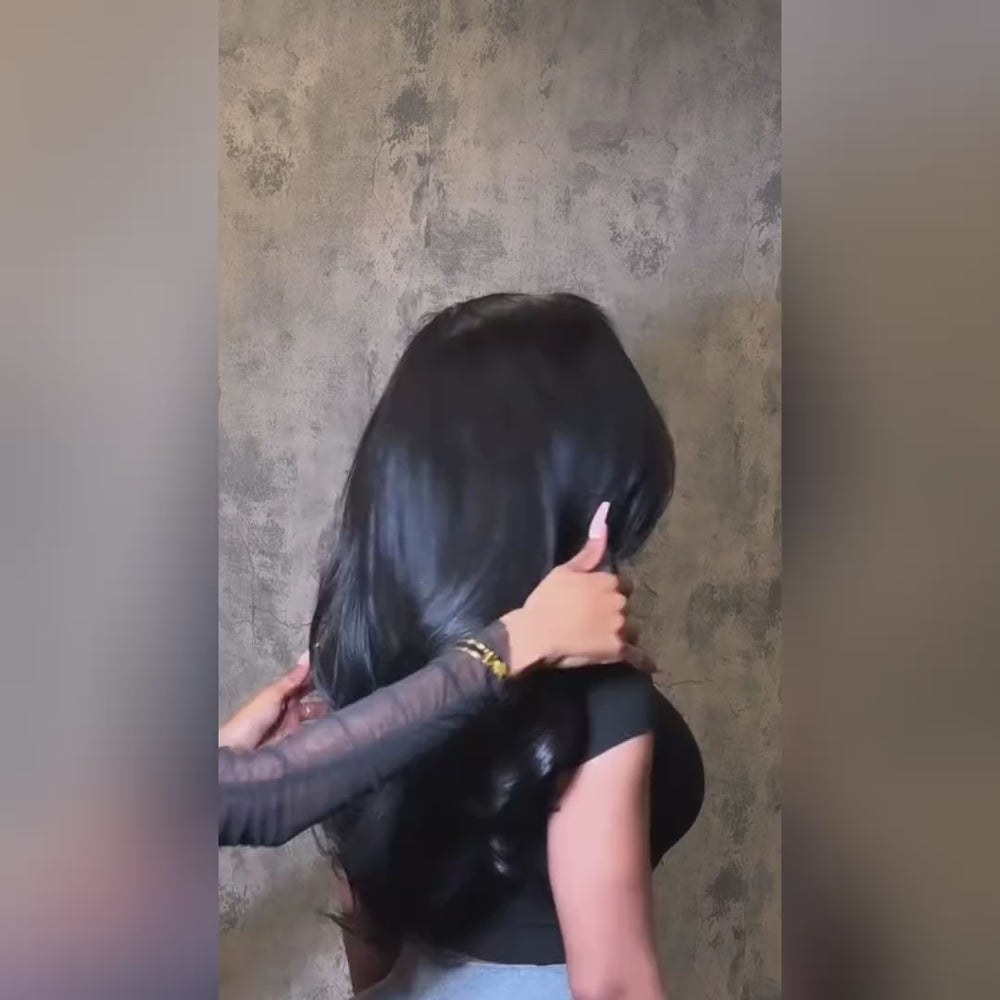

Step-by-Step Guide to Perform Lace Closure Wig Install
Discuss wearing sewn hair accessories, the most important role is to complete the most normal appearance. No one needs to see their weft or braid easily. Many hair extensions require the forgotten part of the hair to be brought close to cover the stitched seams. However, this makes it difficult to combine the real hair surface with the original hair extension.

Commonly, to prevail during this mixing interaction, wig wearers apply heat to the hair, prompting the regular hair's harm. In any case, due to the lace closure wig introduce, ladies can cover the front of the hair and obtain a characteristic hairline. Let’s we should dive into the planet of lace closure and therefore the techniques for introducing them.
What is lace closure?
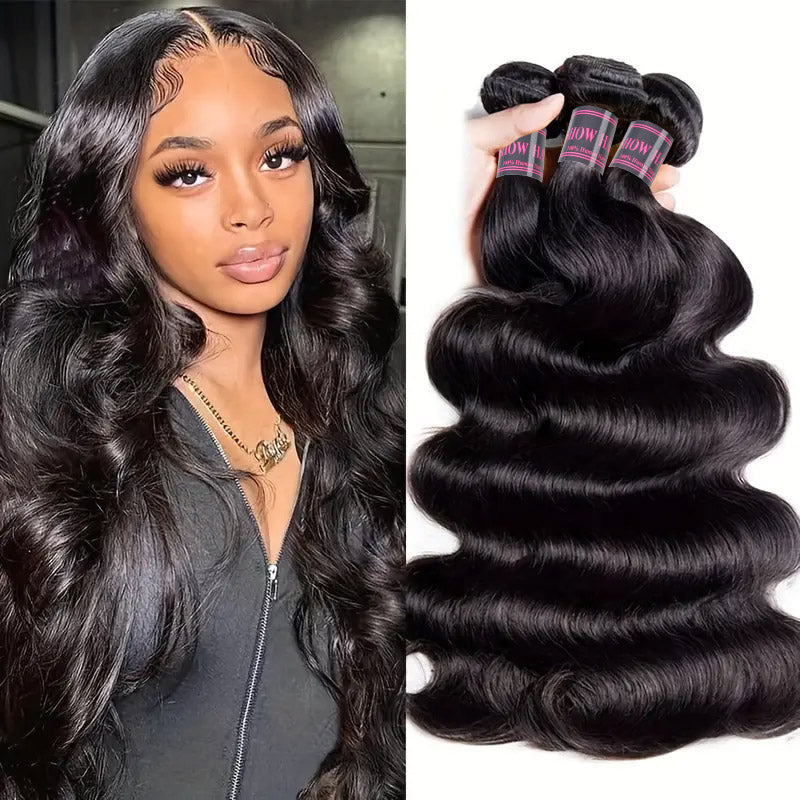
Lace seals are usually 4X4 pieces, 4 inches long and 4 inches wide, a bit like a square. The size can be changed slightly to suit the wearer's necessities, such as 4X3, but 4X4 size is the norm. Lace sealing is divided into three sections (middle section), three sections and free section. The wearer can place a lace seal in the center or on one side of the hair to give the stitches a unique appearance.
This allows the wearer to not leave all real hair when wearing a full knit (especially for those who wear it often). In order to have a complete head seam and conclusion, ladies can buy 2 to 3 packs to end a method.
Lace closure may be the most imaginative procedure in the hair expansion industry. Here, Ishowbeauty introduced the installation of lace closed wig.
How to install the lace closed wig?
Part 1-Install the cover
The first stage: shampoo
Ladies wear braids and lace closures for a long time, so make sure to clean your hair and scalp. Using shampoo and conditioner to keep your hair moist is ideal. Then, make sure to let the hair dry before introducing the cap.
Stage 2: Combing the hair
Separate the hair, we want our style to separate. Use our favorite procedure to comb the hair and make sure that each mesh appears from that part. Keep a few staggers and make sure there is a grid along the hairline.
There should be very little interleaving to ensure that a level A is established. This provides a more regular inspection of the overall view of sewing and finishing.
The third stage: Put a square woven net on it
This net looks like a tulle material, but it is a bit thick. Plan to harmonize with the tone of the hair and the net. Dark tones are cheap for almost everyone, except for dull earthy colors, and can be paired with gorgeous colored hair.
In addition, the square should be large enough to hide all the hair. The exact size of the square depends on the size of the head. The use of hairnets is arbitrary, and it seems best to reduce the hair, because the more weft we sew, the fuller the look we get.
Stage 4: Sewing the mesh to the barbed corn cob
Knit the curved needles with a thick and stable rope. Start stitching from the back focus and end at the front focus at the top. Put the net in front of the needle and proceed as it does. Keep connections small and reliable.
The fringe ear of corn is the ear of corn that extends along the hairline
Pass the needle through the net and remove it from the corn cob. Recycle
Stage 5: Tie and cut the rope and the remaining net
For this, once we get back to the beginning, we sew the lattice a few times, then tie up the rope and cut it. Make sure to place the remaining net as close as possible to the barbed corn cob. If we find any unwelcome obvious holes when cutting the string, we should always simply close the holes by sewing.
Section 2 – Sewing within the trim top
Phase 1: Place a lace seal on the part
Depending on the position of the ear of corn, the lace seal can be located at the top or the highest focus on one side. In addition, the lace seals should be horizontal and leave no holes between them and traditional hair.
Stage 2: Sew the left half of the seal to the ear of corn along the hairline
Pass the needle through the lace, net and corn net, and then take it out again through the corn net and net, directly under the lace seal. Repeat this cycle once to force the shoelace to close.
The introduction of lace closed wigs will definitely become an extreme test for individuals, especially novices. Be sure to seek help from someone who is insightful in introducing lace closures to make sure everything goes smoothly.
Stage 3: Suture the closed right side with a subsequent needle. At that time make a straight part behind the front edge of the seal
Stage 4: Sewing the front side of the lace
Start sewing from the left half of the seal until we reach the straight part and readjust the process on the right.
Stage 5: Stitch all the sides of the seal behind the top
Start sewing from the left half of the lace closure and end at the back focus of the top. Repeat this interaction on the right. Tie the rope together and take the remaining part away.
Step 6: Clip the hair to the lace seal
The hair on the lace seal is cleverly turned into a bun and fastened with a button. The purpose is to manipulate the hair for subsequent cycles.
Part 3-Sewing inside the weft
The last step in the introduction of the lace closed wig is to sew inside the weft yarn.
Use a bent needle to leave the weft thread on the felting needle
Fix the weft end to the left half of the nape. Pass the needle through the weft yarn and the ear of corn. Next, pass the needle down through the weft and push up into the ear of corn.
Continue to stitch until we reach the sweet spot of the right ear
Accumulate the weft to the left and continue sewing
Sew the weft to the top braid
Fix the last weft thread on the edge of the lace seal
Bottom line
With the complete guide for lace closed wig installation from ishowbeauty.com, we hope women find it useful and realize that installing a wig is usually a fun and exciting process. Make sure to follow our steps carefully so that gorgeous, natural and excellent human hair wigs will not be out of reach.


