


How to Pluck Headband Wig
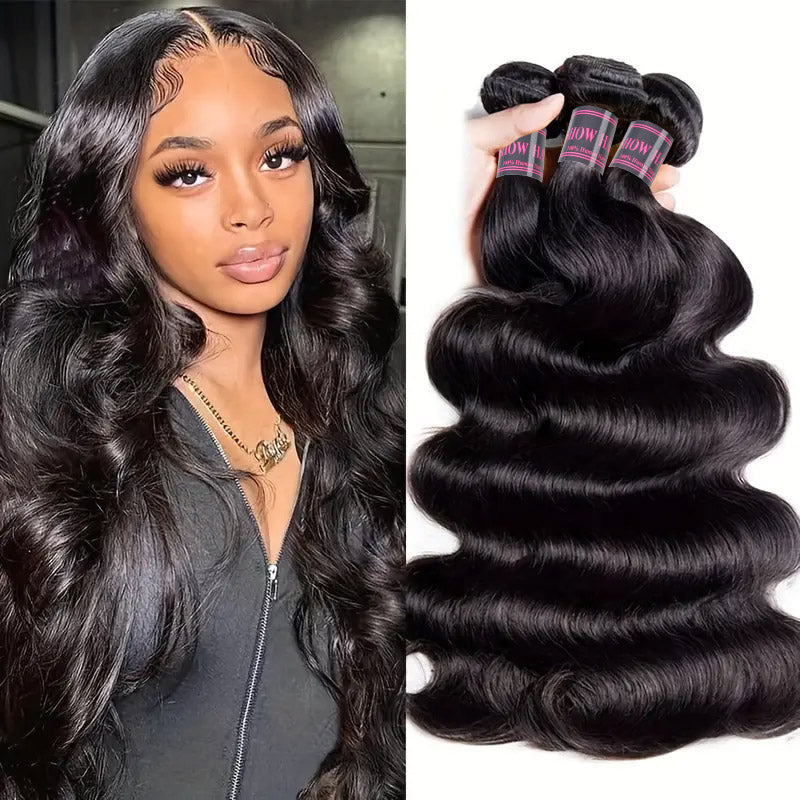
Hair experts are using human hair pulled from human hair to simply accept the hair characteristics of their clients. In fact, it is still one of the choices of most wigs today and is widely adopted by most distributors.
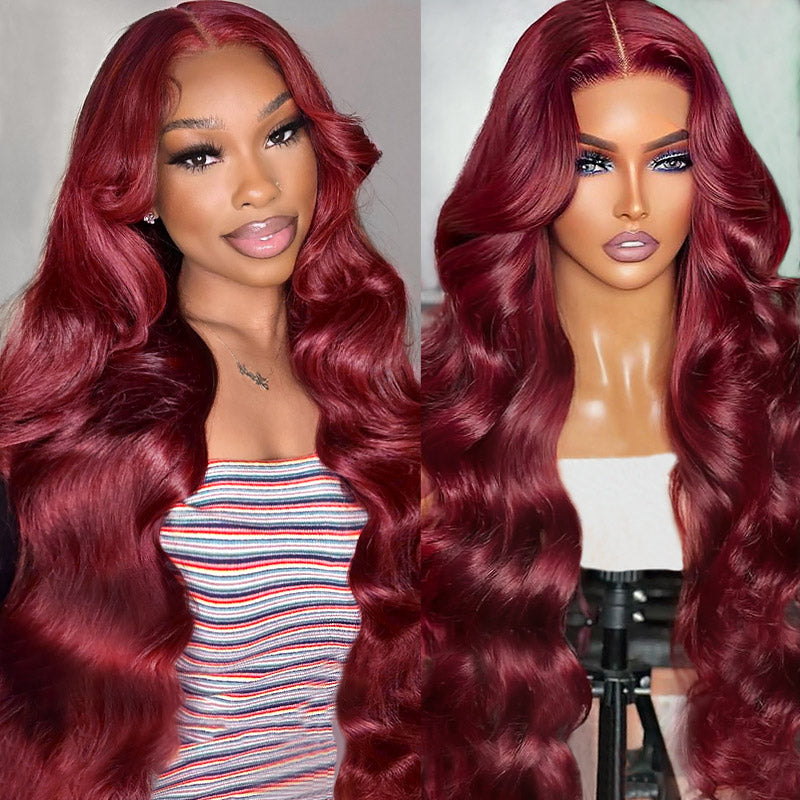
With many convenient options, one of the main features is the pre-swing wig, which is known for its unique appearance. Most pre-pull wigs are spotted airlines, giving the impression of your unique hairline.

Why is plucking?
The pre-pull wig allows you to customize the design of the hairline. During the haircut, the thickness will decrease at the optimal height, a bit like real hair. Hair of the opposite length will permanently grow around a person's hairline, which may usually be a sign of hair growth.
With these letters, in order to send out a truly reasonable way, the wig or wig should try to give the same impression and blur the hairline. This usually does not drag down the single amount of advance payment.
The benefits of pulling a wig. These benefits are as follows.
It gives your hairline a unique appearance.
In addition, an excellent tweezers and a brush are provided to cool the hair quickly.
Pulling hair from the hair is basically very simple. Surprisingly, you will find the revised hairline yourself.
It can even make your hair look non-curly.
In any case, for a wig that has not been moved, you must kill the wig yourself. how is it?
In this article, Ishowhair explains the way to pluck your headband wig.
How are you able to pluck the headband wig by yourself?
If you are not going to pluck your hair, then here are some simple steps that will help you achieve basic daily tasks.
What you need to do:
It also includes a single hat with elastic whip and brush, life-size model, bristles, mousse, coconut oil.
Step 1 (optional):
This development is completely arbitrary and we will decide for ourselves. This is usually the easiest method, thanks to coloring the bench to provide honest color. Therefore, the wig will be more distinctive. To urge the start, remove the middle comb. This cycle will help support the surface of the hair. There were a few days at the bottom of the cap rock (where the hair was tied). Taking two spoons of bleach may tilt. The designer's preference for thickness is thick, because it should not modify the hair. Make sure to use the highest mixture gently on your hair so that the acute stress does not affect the soap, so that the soap does not sink into the hair.
Step 2 (optional):
To obtain the specified results from the first step, let the soap sit for at least 30 to 45 minutes. Now, it is still cleaning the cap universe after removing the clumps. Let stand for 3 to 4 minutes before rinsing.
If this is not a nuisance, please note: cleaning the hair follicles can improve the traditional shape of the wig; however, we strongly recommend that you only seek help from experts or other agencies in the headscarf. Apply to offset extortion. Insanity often leads to more deaths.
Step 3:
This development is where the precise cooling cycle begins. This includes putting the hair on a life-size model and modifying the hairline. As long as you keep the wig, you don’t need to take it seriously, but if you don’t like it, make sure to give up so-called "baby" hair before proceeding.
Please take a small amount of mousse and apply it around the hairline. Try using a rotating rod to help keep your hair smooth. Mousse can help the hair feel better, making it easier to adjust.
Step 4:
Make sure to complete the blowing after finishing the finishing phase. Dryness makes it easier to figure out what hair looks like now. Slightly apply to the hair. Given that you can actually use some of the simplest methods, the assembly of the tweezers will have an immediate effect. Starting from the front end of the hairline, start manipulating the hair to avoid getting to. Separate the hair and return to the hairline to start to shine. Polishing the front part alone will not remove any excess hair that may lengthen the extension, so the final appearance will be damaged. Make sure to adjust carefully, do not trust anyone's area at any time, too many tweezers may cause exposed spots.
Step 5:
Continue to place some hair. Now, it removes a lot of hair from the area, and these areas are just other parts. This has a gradual or degree effect on the hairline. The front seems to be more common.
Stage 6:
In order to prepare the hairline regularly, please reintroduce some baby hair, which looks more normal than the paired hair. This may make the hairline look unusual and your hair will be wearable.
If you don't have tweezers and a life-size model, Ishowhair will show you a hint.
When you don't have tweezers: Once we carry high-quality tweezers with us, the most important quantity is to chop up your long nails when you don't have tweezers. Used for cooling. But please pay attention.
When you don't have a life-size model: For one or two people, this will be difficult, but it's actually not the case. Once there is no life-size model, pull the hair straight to the top. Due to the massive increase in disease regulations, you will tighten your headgear tightly so that you will not run out anytime soon. For a few people, I am very grateful in the feed because you have hair on your head and you have an honest understanding of how to display the hairline.
Conclusion
By following the above steps, you'll be ready to complete the primer regular headband human hair wig that you simply just need. Most corporate hairstyles are pre-styled or pre-picked, which is actually not for you. Following the above-mentioned development trend for 19-year-old children will help them to remove the wig in a modeless manner, thus ensuring the safety of their hair when there is no one else.


