


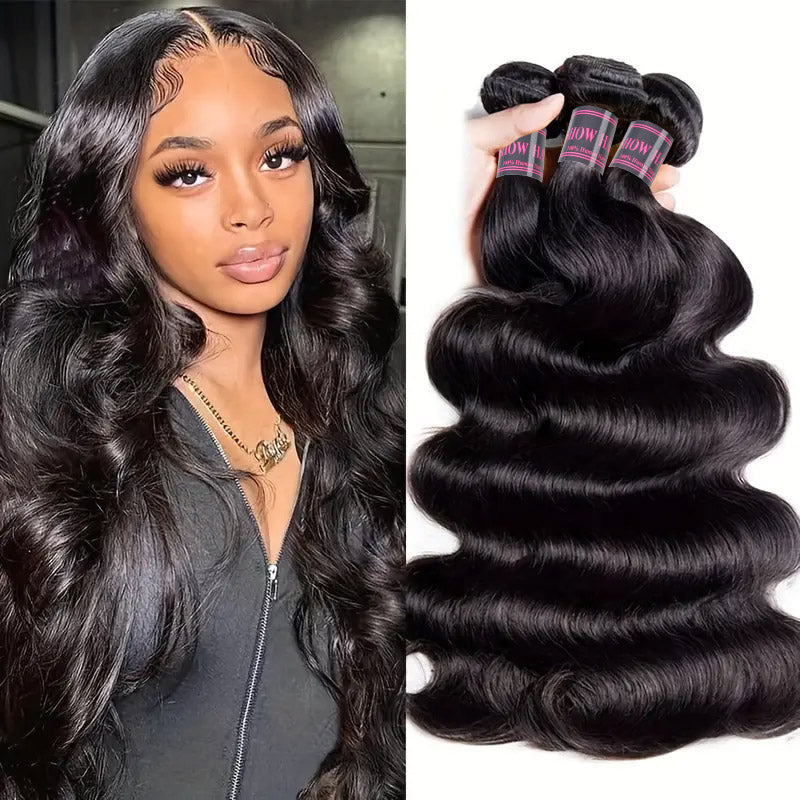


How To Fix A Ripped Or Damaged Lace Wig
Lace wigs have become increasingly popular among women who want to switch up their hairstyles or cover hair loss. These wigs are loved for their natural appearance and versatility, making wearers style them just like their own hair. However, like any other beauty accessory, lace wigs are prone to wear and tear over time. Rips, tears, and other forms of damage can occur due to various factors, such as improper handling, excessive styling, or accidents. Dealing with a damaged lace wig can be frustrating, especially if you're unsure how to fix it. In this article, you can learn how to identify the type and extent of damage to your lace wig and have a step-by-step guide on how to repair it yourself. Also, preventive measures will be provided to help you avoid damaging your lace wig in the future.

How to Identify the Type and Extent of Damage
Before you start fixing your lace wig, it's essential to assess the type and extent of the damage. This will help you determine the best course of action and whether the wig is salvageable. Here are some common types of damage you may encounter:
Small tears or rips in the lace
Small tears or rips in the lace are the most common type of damage. These usually occur along the hairline or the part of the wig and can be caused by excessive pulling, snagging, or improper handling. If the tears are minor and do not extend beyond the lace, they can often be fixed easily at home.
Large holes or extensive damage to the wig
Large holes or extensive damage to the wig can be more challenging to repair. This type of damage may occur due to prolonged wear, improper storage, or accidents such as snagging the wig on a sharp object. If the damage extends beyond the lace and into the hair of the wig, it may be more difficult to fix and may require professional repair services.
Assessing whether the wig is salvageable
In some cases, the damage to your lace wig may be too extensive to repair. If the wig has multiple large holes, excessive shedding, or significant stretching, it may be best to retire the wig and invest in a new one. However, if the damage is localized and does not affect the overall structure of the wig, you can fix it yourself or with the help of a professional.
Tools and Materials Needed for Lace Wig Repair
Before you begin repairing your lace wig, it's important to gather all the necessary tools and materials. Having everything on hand will make the process smoother and more efficient. Here's what you'll need:

- Wig adhesive or fabric glue: A good quality wig adhesive or fabric glue is essential for repairing your lace wig. Look for a product that dries clear, is flexible, and provides a strong hold.
- Lace fabric (matching the color of the wig): To patch larger holes or tears, you'll need a piece of lace fabric that matches the color of your wig. You can find lace fabric at most craft stores or online retailers that specialize in wig-making supplies. Make sure to choose a lace that closely resembles the texture and color of your wig's original lace.
- Scissors: A pair of sharp scissors will be needed to trim any excess lace or adhesive after the repair is complete. Opt for scissors with a fine, pointed tip for precise cutting.
- Tweezers: Tweezers can be helpful for holding small pieces of lace in place while the adhesive dries. They can also be used to remove any stray hair or debris from the damaged area before beginning the repair.
- Mannequin head or wig stand: A mannequin head or wig stand will keep your lace wig secure and in place while you work on the repair. This is particularly important when dealing with larger holes or more extensive damage, as it allows you to access the affected area easily and ensures that the wig maintains its shape during the repair process.
Step-by-Step Guide to Fixing Small Tears in Lace Wigs
Step #1: Clean the area around the tear
Before applying any adhesive, make sure the area around the tear is clean and free from dirt, oil, or styling products. Gently wipe the area with a soft cloth or use a small amount of rubbing alcohol on a cotton swab to remove any residue.
Step #2: Apply wig adhesive or fabric glue
Using a small brush or the applicator provided with your adhesive, apply a thin layer of glue along the edges of the tear. Be careful not to use too much adhesive, as this can create a bulky or visible repair.
Step #3: Press the torn edges together
Gently press the torn edges of the lace together, making sure they align properly. Use your fingers or tweezers to hold the edges in place while the adhesive sets.
Step #4: Allow the glue to dry completely
Follow the instructions on your adhesive or glue to determine the drying time. Most products will dry clear within a few minutes to an hour. Avoid handling the repaired area until the glue is completely dry to ensure a strong bond.
Step #5: Trim any excess lace or adhesive
Once the adhesive is dry, use your sharp scissors to carefully trim away any excess lace or hardened glue. Be cautious not to cut any of the hair or surrounding lace during this process.
How to Repair Large Holes or Extensive Damage in Lace Wigs
Fixing large holes or extensive damage in your lace wig requires a bit more effort and patience compared to repairing small tears. However, with the right techniques and materials, you can restore your wig and extend its lifespan. Follow these steps to tackle more significant damage:
Step #1: Cut a piece of matching lace fabric slightly larger than the hole
Using your scissors, carefully cut a piece of lace fabric that matches the color and texture of your wig. Ensure that the patch is slightly larger than the hole itself, as this will provide adequate coverage and support for the repair.
Step #2: Apply wig adhesive or fabric glue around the edges of the hole
Using your applicator or brush, apply a thin layer of adhesive or glue around the edges of the hole. Be sure to cover the entire perimeter of the damage, as this will create a strong bond between the patch and the existing lace.
Step #3: Place the lace patch over the hole and press firmly
Carefully place the lace patch over the hole, making sure it is centered and aligned with the surrounding lace. Use your fingers to press the patch firmly onto the adhesive, ensuring that it adheres properly to the wig.
Step #4: Allow the glue to dry completely
As with small tears, follow the manufacturer's instructions for drying time. Avoid handling or styling the wig until the glue has dried completely to prevent any shifting or damage to the repair.
Step #5: Trim any excess lace or adhesive
Once the adhesive is fully dry, use your sharp scissors to trim away any excess lace or hardened glue around the edges of the patch. Be careful not to cut any of the surrounding hair or lace during this process.
Step #6: Blend the repaired area with the rest of the wig
To ensure a seamless repair, use your fingers or a wide-tooth comb to gently blend the hair around the patched area with the rest of the wig. This will help disguise the repair and maintain the natural appearance of your lace wig.
The Takeaway
Taking good care of your lace wig is crucial if you want it to last a long time and keep looking its best. This article has given you easy-to-follow instructions on how to fix common problems like rips and tears, whether they're small or large. While you can handle many repairs yourself, don't hesitate to take your wig to a professional if the damage is severe or if the wig is very valuable to you. The most important things to remember are to be gentle with your wig, clean and maintain it regularly, and fix any issues as soon as you notice them. By doing these things, you'll be able to rock your lace wig with confidence for a long time to come.


