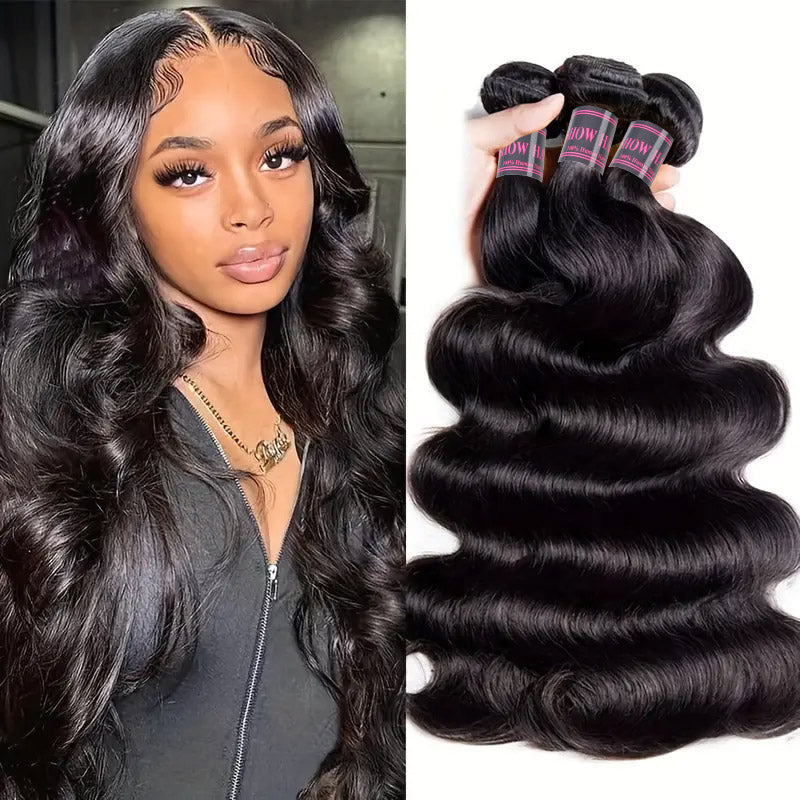
A Beginner's Guide to Dyeing a Wig: What You Need to Know
Dyeing wigs can be a fun and creative way to show off your personal style, whether you're getting ready for a cosplay event or just want to change your look. If you're new to dyeing wigs, it might feel a bit confusing at first. This guide will help you understand the basics by covering different types of wigs, preparation steps, and simple instructions for dyeing your wig successfully.
Dyeing Synthetic vs. Human Hair Wigs: Is It the Same?
Before you start dyeing your wig, it's important to know about the two main types of wigs: synthetic wigs and human hair wigs. Each type has its own features that affect how you can dye them.
Synthetic Wigs
Synthetic wigs are made from artificial materials that look like real hair. They come ready to wear and are usually cheaper than human hair wigs. There are some important things to know about dyeing them:
Human Hair Wigs
Human hair wigs are made from real hair taken from donors. They look and feel more natural than synthetic wigs and give you more options for styling and coloring:
In short, synthetic wigs are great for convenience and budget but are not suitable for dyeing. But if you want a wig that looks real and offers styling flexibility, a human hair wig is a great choice.
How to Prepare Your Wig for Dyeing?

Gather Necessary Supplies
Before you start dyeing your wig, make sure you have these supplies ready:
- Dyes: Choose a dye made for either synthetic or human hair wigs. This ensures the dye works properly and doesn't damage the wig.
- Application Tools: Use brushes or applicator bottles to apply the dye evenly on the wig. Brushes help spread the dye smoothly, while applicator bottles allow for precision in hard-to-reach areas.
- Protective Gear:
- Old Clothes: Wear clothes you don't mind staining, as dye can drip and create messes.
- Towels: Keep towels nearby to wipe off excess dye and protect surfaces from spills.
- Plastic Wrap: Use plastic wrap to cover dyed areas while the dye sets, preventing it from touching other surfaces.
Choose the Right Color
First, think about your skin tone and the current color of your wig. A good match will make you look great! If you're not sure about the color, try dyeing a small section of the wig first. This way, you can see how it looks before changing the whole wig. Also, decide what kind of look you want. Do you want a big change or just a subtle enhancement? Taking these factors into account will help you choose the best color for your wig.
Clean the Wig
To clean the wig, wash it gently with a mild shampoo. After washing, let it air dry completely. Make sure not to use any products that contain silicone. These can create a barrier that stops the dye from soaking into the hair.
Step-by-Step Guide to Dyeing a Wig
Now you're ready, follow these simple steps to dye successfully.
Step 1: Section the Wig
To make dyeing easier and get an even color, start by dividing the wig into sections. It's best to split the hair into four parts. Use clips to hold each section in place. This keeps the hair out of the way while you work on one part at a time. It also helps the dye spread evenly for better results.
Step 2: Apply the Dye
- Start by reading the instructions that come with your dye. This will help you understand any special steps or how long to wait.
- Begin by applying the dye at the roots and then work your way down to the tips. Make sure each section gets enough dye so the color is even. If you notice any dry spots, just add a little more dye there.
- For better control, use a brush to apply the dye, especially near the roots. This helps you avoid mistakes and keeps the dye from getting on areas you don't want to color. After applying the dye, use a comb to gently spread it through the hair. This helps make sure the color is even all over.
- Take your time with this step. Being careful will give you the best results. Once you've finished applying the dye to all sections, follow the dye's instructions to see how long to let it sit before rinsing it out.
Step 3: Set the Dye
After you've applied the dye, it's time to let it set. Check the instructions on your dye package to see how long you should wait. To help the dye work better, cover the wig loosely with plastic wrap or a shower cap. This keeps it warm and moist, which helps the dye soak in. Make sure it's not too tight, so the wig can breathe. Be careful about how long you leave the dye on your wig. If you leave it too long, it can make the hair dry and break, especially with human hair wigs.
Step 4: Rinse and Condition
Once the dye has set for the time listed in the instructions, it's time to rinse the wig. Hold it under lukewarm water and gently rinse until the water runs clear. Be careful not to scrub or rub the wig too hard, as this can cause tangling. After rinsing, apply some conditioner to make the hair soft and add moisture. Leave the conditioner on for a few minutes, then rinse it out. This will help keep your wig looking great!
How Do You Care for a Dyed Wig?

After dyeing, taking care of your wig is crucial to keeping the color vibrant and the hair healthy.
Wash Your Wig
To keep your dyed wig looking its best, wash it only when you really need to. Use a gentle shampoo and make sure to use lukewarm water instead of hot water.
Style with the Right Products
When styling your wig, choose products made especially for wigs. Avoid using hair products that have alcohol in them, as they can dry out the fibers and damage the wig. Taking these steps will help the color last longer and keep your wig in good shape!
Store Wig Properly
To keep your wig in good condition, store it in a cool, dry place away from direct sunlight. This helps prevent the color from fading. Use a wig stand or a mannequin head to help maintain its shape and style.
Dye Your Wig for a Fresh Look!
Dyeing a wig is an easy way to give yourself a fresh new look without buying another wig. Just think about how a little bit of color can change your hairstyle, lift your mood, and make you feel more confident. By knowing the different types of wigs and getting ready properly, you can follow the steps to create a beautiful new style. Enjoy this fun process, and feel proud to show off your bright new look!


